
Article Overview
This tutorial will show you how to convert Screenshots into Screen Replicas.
Step-by-Step Image Tutorial
1 | Navigate to the Program's Screen Library using the Skyllful menu OR the Quick Links on the Program home page. |
2 | Click Select in the top menu. |
3 | Select Screenshot(s). |
4 | Click Convert. |
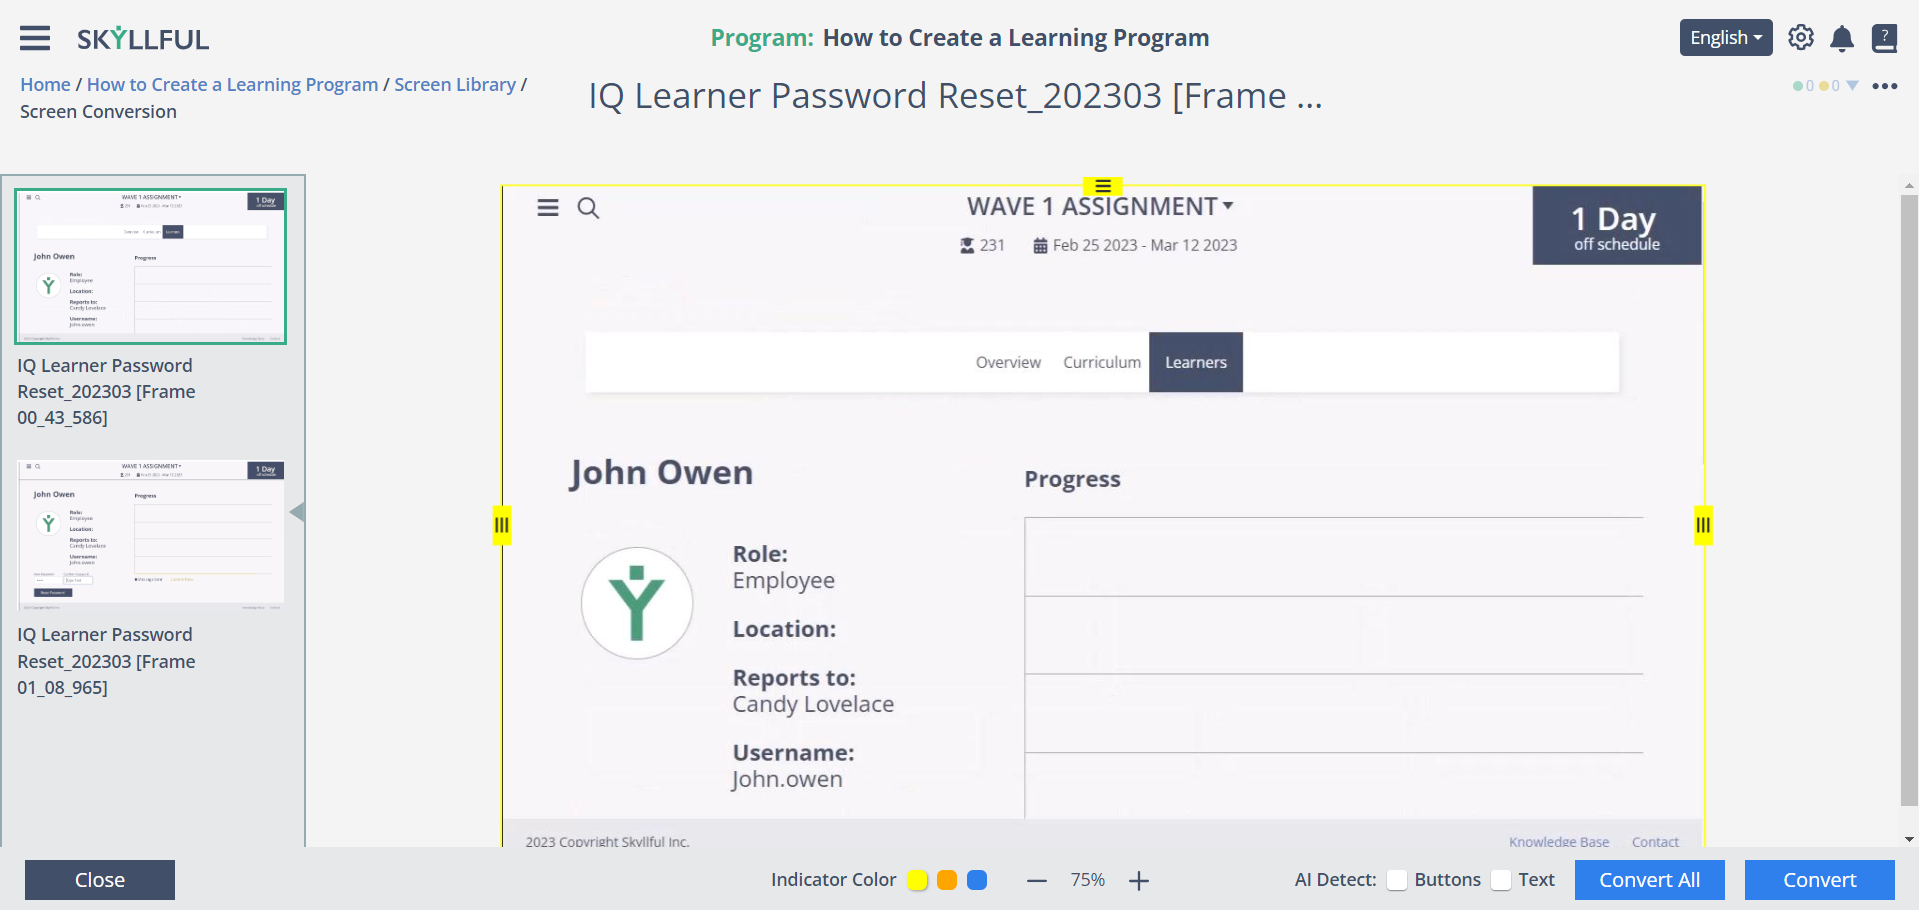
5 | From the editing screen, adjust borders (in yellow) and AI settings as needed. |
6 | Click Convert for the selected Screenshot or Convert All for all Screenshots in the side panel. |
Confirm the Conversion
Editing Tools | Screen Library |
|
|
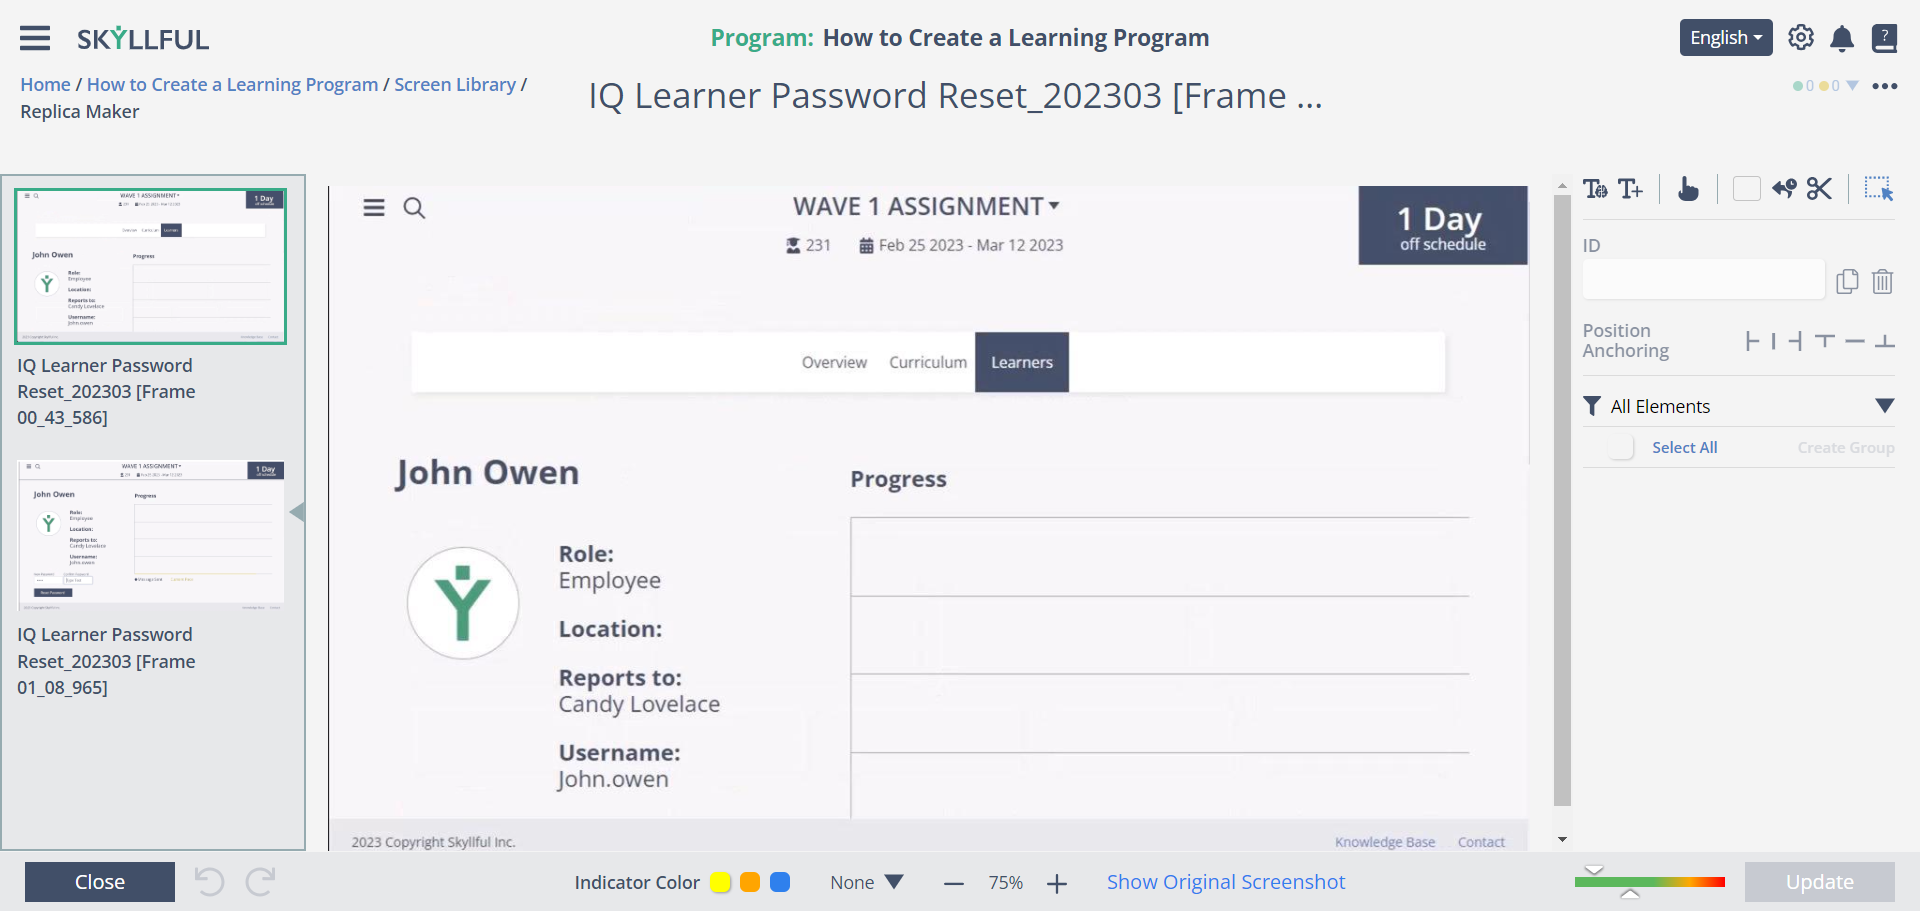
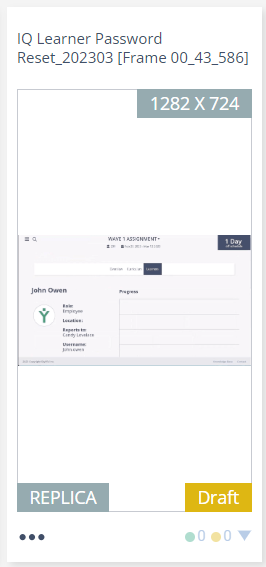
After successful conversion, a set of editing tools will appear alongside your Screen Replica. | In the Screen Replica, the card is now labeled Replica. |

Demo
Best Practices & Troubleshooting
Best Practices | Troubleshooting |
|
|
Best Practices for Using Replica Maker
Crop Screens for Consistency | Auto-Crop & Detection Settings | Ensure a Seamless Learning Experience |
|
|
|
|
|
|

FAQ
What is the purpose of this tutorial?
This tutorial will show you how to convert Screenshots into Screen Replicas.
How do I start the conversion process?
Navigate to the Program's Screen Library using the Skyllful menu or the Quick Links on the Program home page.
Can I select multiple screenshots for conversion?
Yes, you can hold the CONTROL button to select more than one screenshot.
What should I do after converting the screenshots?
After successful conversion, a set of editing tools will appear alongside your Screen Replica.
Are there best practices for using the Replica Maker?
Yes, you should crop screens for consistency, test AI settings on a few screens, and use consistent naming conventions for interactive elements.